Trading : 7am to 5pm (Mon-Sun)
Call Us : (03) 7071 0777
Email Us : sales@primalhunter.com.au
NEED HELP?
Hours: 7am-5pm (Mon-Sun)
Ph: (03) 7071 0777
E:sales@primalhunter.com.au

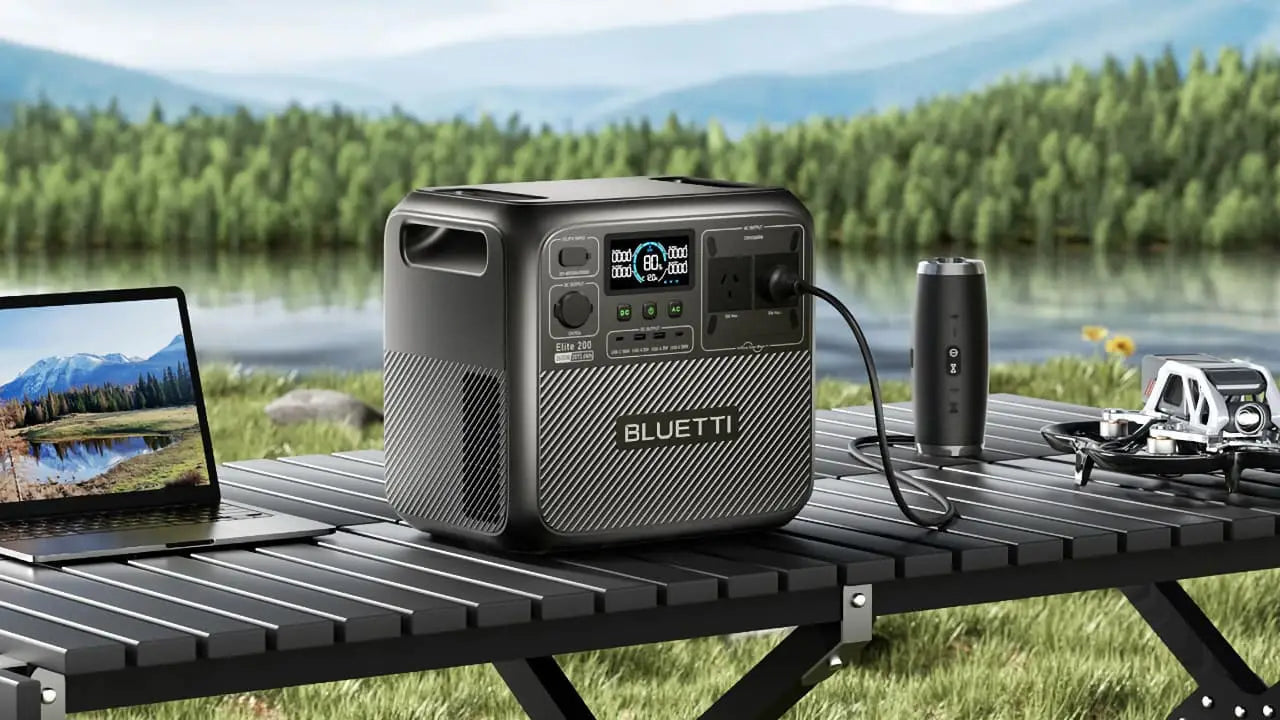
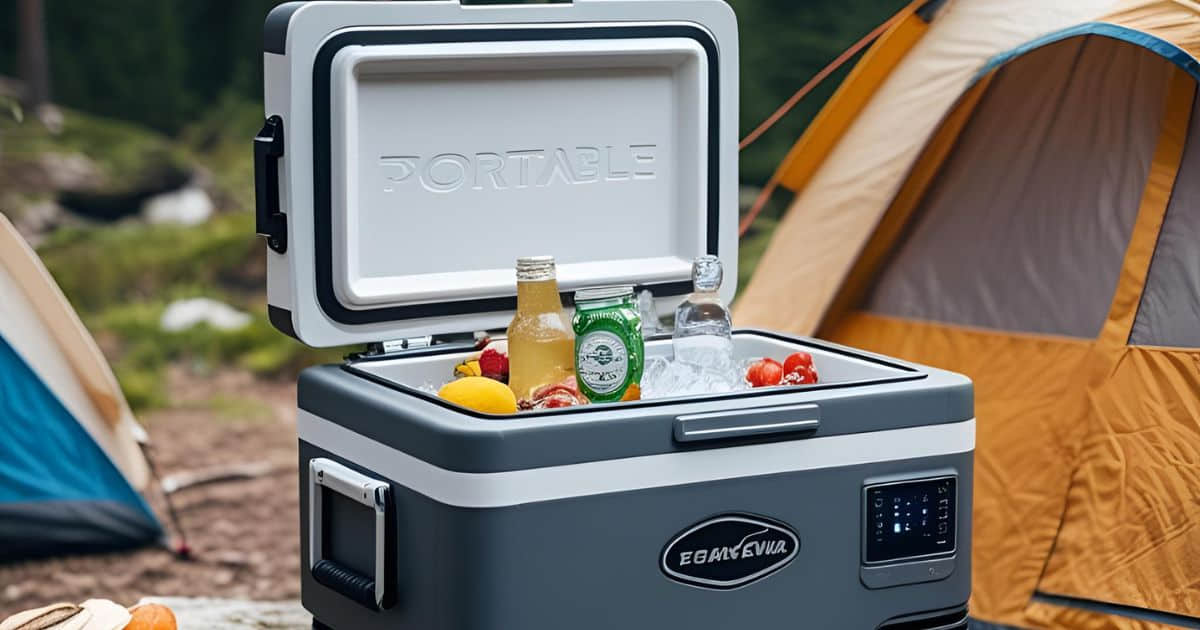
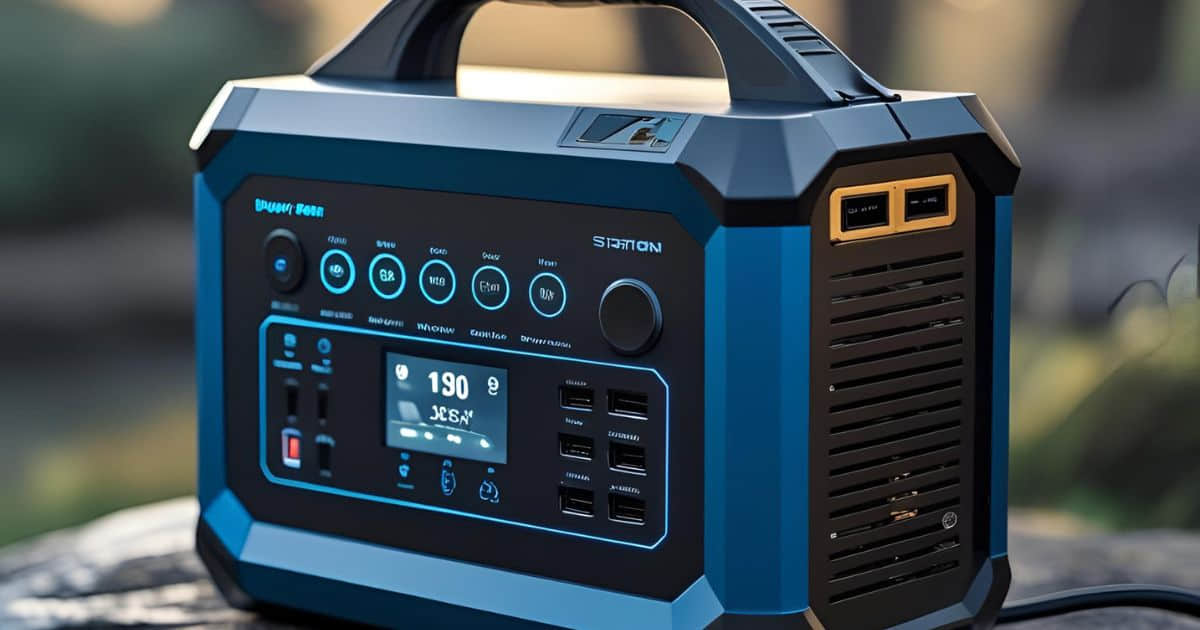
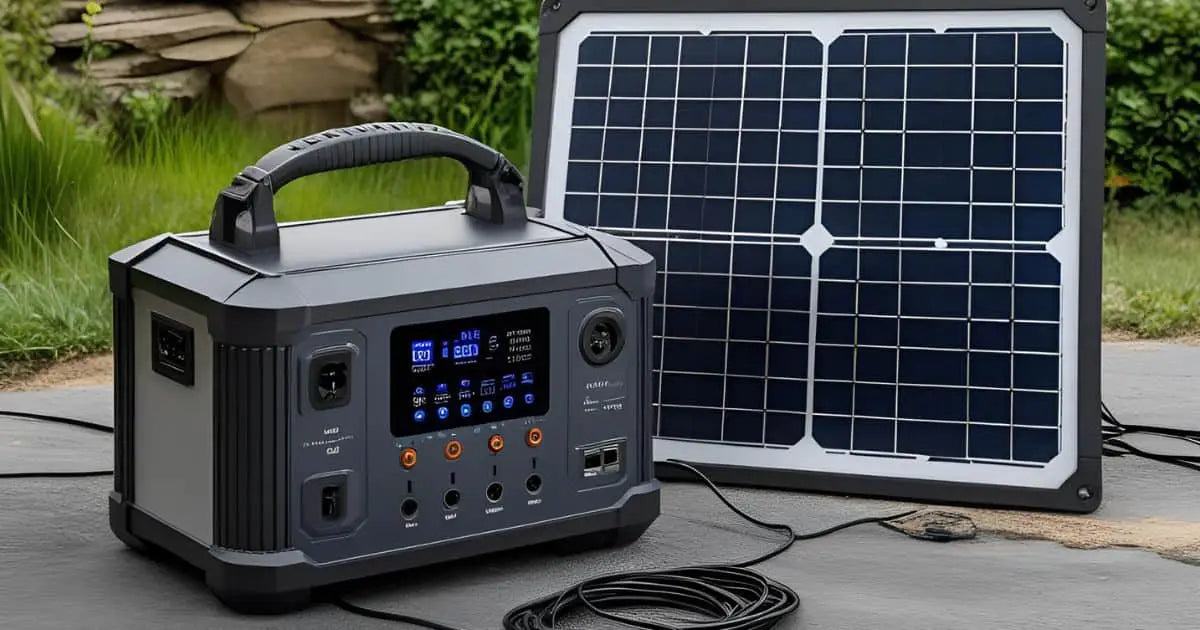
Whether you're keeping the beers cold in the bush or charging your phone off-grid, a portable power station is fast becoming a must-have for any serious camper.
But with all the different models, specs, and tech jargon out there, choosing the right one can feel like wading through a minefield.
No worries though — we’ve got your back.
We’ve put together a no-fuss guide that cuts through the confusion with plain talk and real-world tips, so you can find the perfect power setup for your next adventure.
Before diving into brands and features, you need to know two key terms:
Watts (W) – That’s how much power your gear pulls while it’s running.
Watt-hours (Wh) – That’s how much total juice your power station can store and deliver over time
Here’s an easy way to picture it:
Watts = how fast water flows from a tap.
Watt-hours = how much water is in the tank.
Why it matters:
If you don’t understand the difference, you might buy a station that either can’t power your gear at all — or runs out halfway through the night.
Alright, say you’re heading off for a weekend and want to keep the following running:
Your laptop for a bit of work (or Netflix)
A mini fridge for the essentials
An LED light for after dark
How do you work out how much power you’ll need to keep all that going?
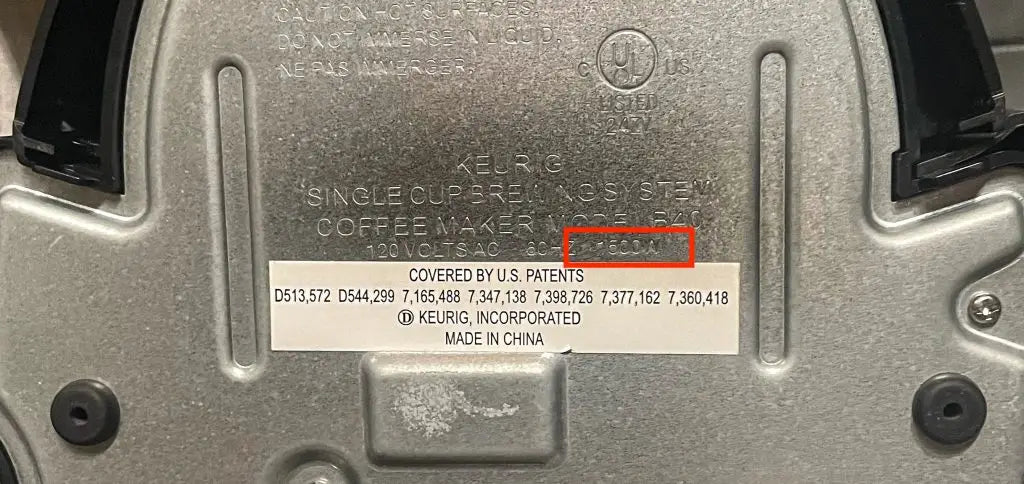
Start by checking the power rating:
Look for a sticker or label on the device (usually on the back or bottom). It’ll show the wattage.
Tip: If it only lists volts and amps, use this formula:
Watts = Volts × Amps
Next, estimate how long you’ll use each item per day. Then just multiply the watts by the number of hours — that gives you the total energy use per day, in watt-hours (Wh).
Here’s what it looks like:
|
Appliance |
Power (W) |
Run Time (Hours/Day) |
Running Wattage (Wh) |
|---|---|---|---|
|
Laptop |
60W |
2h |
600W x 2h = 120Wh |
|
Mini Fridge* |
100W |
12h (cycle on half day) |
100W x 12h = 1200Wh |
|
LED Light |
10W |
4h |
10W x 4h = 40Wh |
|
Total |
— |
— |
1360Wh |
* Fridges cycle on/off, so 12h/day is a good average.
This quick calc is important as gives you a rough idea of how much power you’ll chew through each day. Miss the mark, and you could be left in the dark — literally.
Here’s the thing — power stations aren’t perfectly efficient. You lose a bit of juice through the inverter, and real-life use is rarely textbook. That’s why it’s smart to pad your numbers with a 30% buffer.
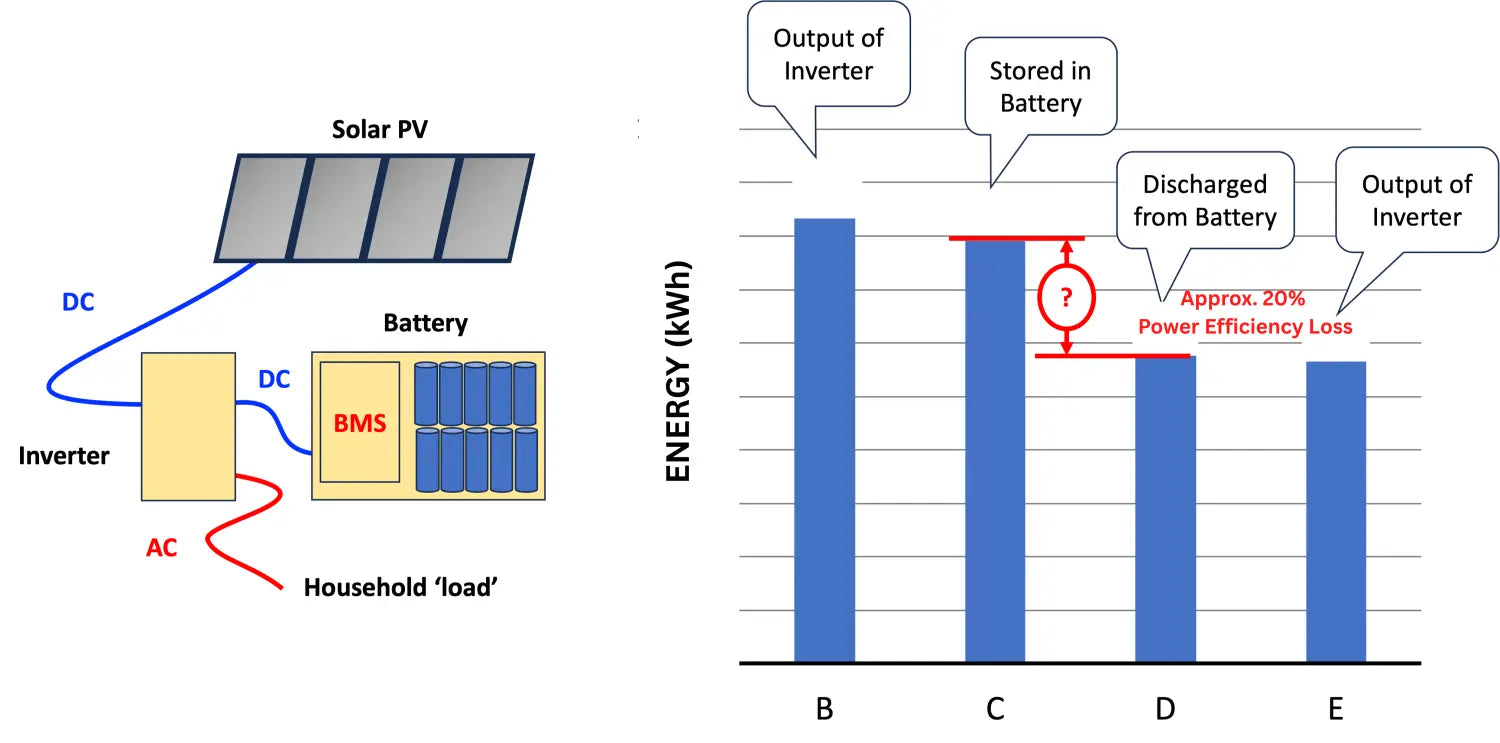
Add a 30% buffer to cover:
20% loss during power conversion
10% for unplanned gear (like your mate’s speaker)
So, using our earlier example - here's how to calculate your 30% buffer:
1360Wh × 1.3 = 1768Wh
That’s your real-world target. If your power station can’t deliver at least that, you’re pushing your luck.
Now that you know how much power your gear will draw, the next step is making sure your power station can handle it. This is where the inverter rating comes in — it tells you how much power the unit can deliver consistently without overloading.
Using our example:
60W (laptop) + 100W (fridge) + 10W (light) = 170W total draw
Again it's good practive to add the recommended 30% buffer to cover real-world use and a bit of extra gear:
170W × 1.3 = 221W
What you need:
A power station with a inverter rating of at least 220W. This will give you room to plug in a few small extras.
In short:
Battery capacity = how long things run.
Inverter rating = whether they can run at all.
Not all power draw is steady. Some gear pulls extra power when it starts up — that’s surge power.
Using the fridge, for example. From a cold start (say, after sitting in the back of the ute all day), it’ll suck a lot more power to cool down. Once it hits temp, it chills out (pun intended) and just cycles on and off to maintain it — using way less power. But that initial surge? You’ve gotta plan for it.
Same goes for other gear. Laptops, lights, and other electronics might not surge much, but add everything up and you’ve got a decent spike.
Where to find surge numbers:
Check the label or data sheet on your gear
Look in the manual
Or give the manufacturer a buzz
Here’s a rough guide for our example setup:
| Appliance | Running Watts | Peak/Surge Watts |
|---|---|---|
| Laptop | 60W | 120W |
| Mini Fridge | 100W | 250W |
| LED Light | 10W | 20W |
| Total | 170W | 390W |
120W (laptop) + 250W (fridge) + 20W (light) = 390W peak/surge
If everything kicks on at once, your station needs to handle a 390W surge. If not, it might shut down or trip out — and that’s the last thing you want out bush.
By now, you’ve nailed the big three: battery capacity (Wh), continuous inverter rating (W), and peak/surge power (W).
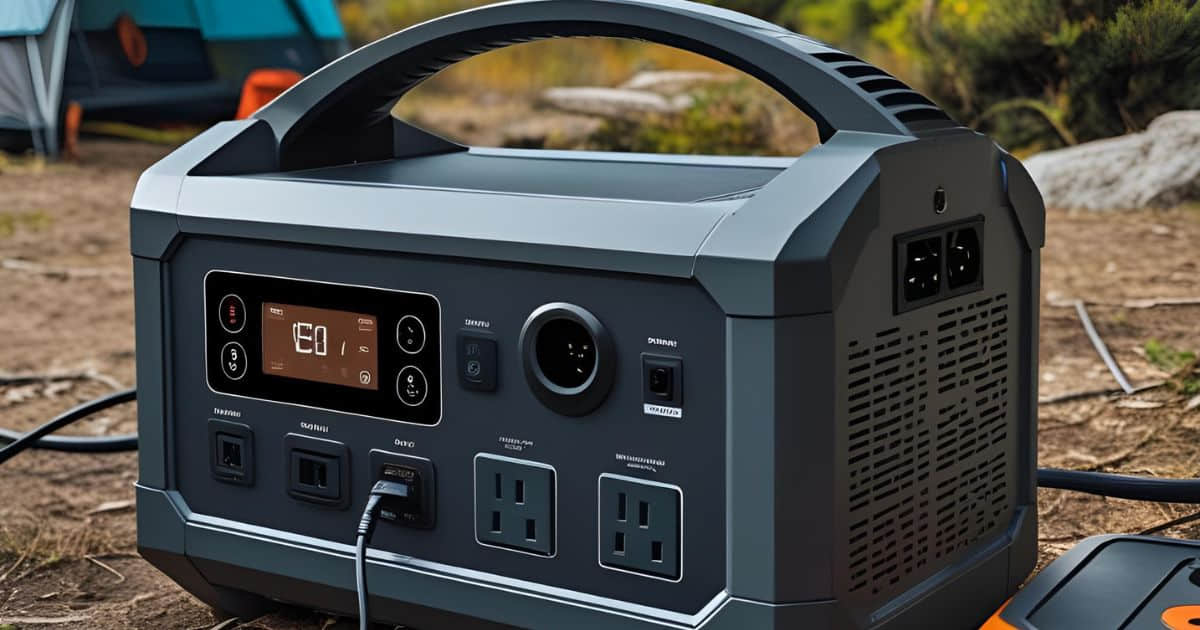
Now look at the smaller stuff. These don’t make or break your setup, but they do affect ease of use off-grid.
Check for:
Enough ports (USB, AC, 12V)
Easy-to-read display (battery %, in/out watts)
Safety features (auto shutoff, low-voltage protection)
Weight — can you carry it around the campsite?
If you’re heading bush for more than a single night and don’t want to rely on solar or vehicle charging, just multiply your daily power needs by the number of days you’ll be away.

Using our running example:
1768Wh × 2 days = 3536Wh
So, you’ll need a power station with at least 3536Wh of usable capacity. That way, you can run your gear for two full days without needing a recharge. It’s an easy calculation that can save you a world of pain mid-trip.
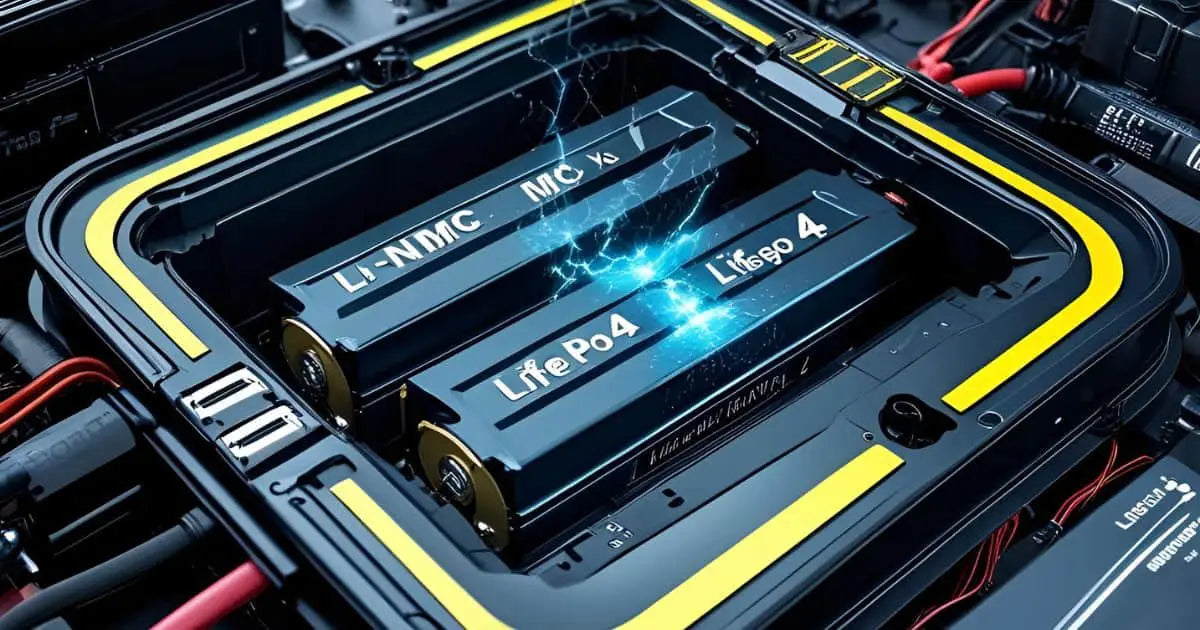
Portable power stations typically come with one of two battery types:
Built to last: 3000+ charge cycles
Safer with better thermal stability
Heavier and bulkier
Lighter and more compact
Shorter lifespan: 500–800 cycles
Great for occasional or lightweight use
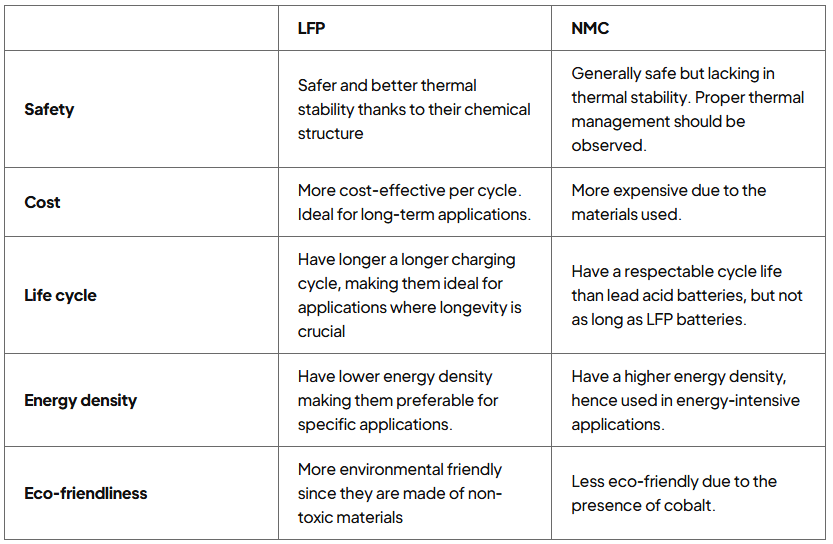
How to choose?
If you’re a regular camper, vanlifer, or want the safest option, go LFP. If you’re only going bush a few times a year and want to keep things light, NMC will do the job.
If you're planning to top up your power station with solar, it’s important to size your panels right.
A good rule of thumb is:
Battery Size ÷ 5 = Minimum Solar Panel Size
Examples:
1000Wh battery → 200W panel
2000Wh battery → 400W panel
This gives you enough solar input to recharge over the course of a full sunny day.
But always check your station’s solar input limit. Some max out at 200W or 400W, so oversizing the panel may do more harm then good.
Bonus tips:
Use a solar charge controller (MPPT or PWM) if your station doesn’t have one built in.
Some high-end units (like Bluetti) have MPPT built-in — good for efficiency.
You can chain two panels if needed — just keep within the input limit.
Before you pull the trigger, run through this quick checklist to make sure you’re getting the right unit for your setup:
| Checklist | What to Check | Answer |
|---|---|---|
| 🔌 Energy Used | Add up the daily watt-hours (Wh) of your gear — this is your baseline need | |
| 🔋 Battery Size | Add a 30% buffer to your usage to cover inverter loss and unexpected extras | |
| ⚡ Inverter Output (W) | Must match or exceed the combined wattage of all devices running at once | |
| 🔥 Battery Type | LFP = longer life & safety; NMC = lighter, cheaper, but shorter lifespan | |
| 🎛️ Ports | Make sure it has the right outputs (AC, USB, 12V, etc.) for your gear | |
| ☀️ Charging Options | Check input methods (wall, car, solar) and max input wattage | |
| 📊 Display & Safety Protections | Should show battery %, watts in/out, and include features like auto shut-off | |
| 🏕️ Weight & Portability | Can you carry it comfortably on your trips? |
Don’t just grab the biggest or flashiest battery on the shelf — and don’t cheap out either.
The best power station is the one that fits:
Your gear
Your lifestyle
Your trips
Do your homework once — and your setup will keep running wherever the road, bush, or beach takes you.
If you've still got questions after this - please don't hesitate to contact us
Or if you've gone through the checklist and are ready to start looking at portable power stations, then feel free to check out our collection here!
References/Acknowledgements:
Leave a comment